Unit 1 | Lesson | Week 1
Course Intro and Camera Basics
Your camera, your kit, your class. Everything you need before the first real assignment.
START HEREOpen your unit one-sheetPrint it or keep it open while you work.Open ↗The big idea
This camera is your tool for the semester. Learn its few important buttons, look after it, and every photo after today gets easier.
01
On your sheet, section 01
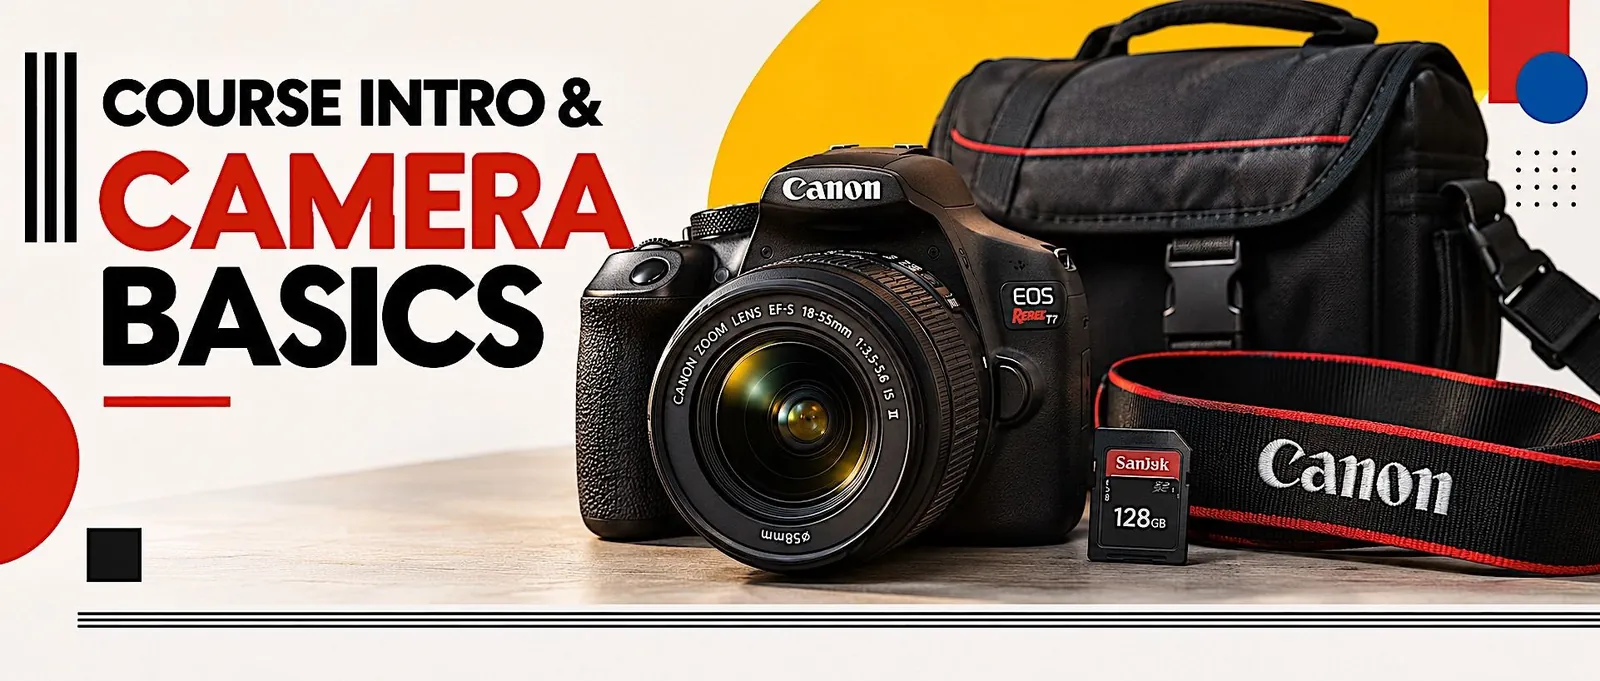
Your kit
Issued to you, worth $650. Yours to look after all semester.
1
bag, everything lives in it
1
Canon Rebel T7 with 18-55 lens
1
memory card, stays in the camera
Must do
Bring the kit back by the last week of the semester, clean and complete.
02
On your sheet, section 02
Hold it like a photographer
Steady hands make sharp photos.
01
Right hand on the grip
Your finger rests on the shutter button.
• Left hand under the lens.
• Camera strap around your neck, always.
02
Eye to the viewfinder
What you see is what you get.
• Close the other eye if it helps.
03
Elbows in, breathe out
Then press.
• Lean on a wall or a table when you can.
Watch out: Blurry photos indoors. Brace yourself and hold still for one second after the click.
Try it now: Pick up your camera, eye to the viewfinder, elbows in. Hold it still for five seconds.
03
On your sheet, section 03
The buttons that matter
Six controls. You will use them every class.
On the camera
Mode dial
Where you tell the camera how much to decide for you.
Shutter button
Half press to focus. Full press to shoot.
Focus
Wait for the beep and the red squares.
Viewfinder
What you see is what you get.
Main dial
Changes the setting you are on.
Card door
Only open it with the camera off.
QUESTIONS FOR YOU, THE CAMERA
?
What does the mode dial change?
?
Why do we half press before we shoot?
?
Where do you look to see what the camera sees?
04
On your sheet, section 04
From camera to computer, every time
The same routine, so no photo is ever lost.
01
Camera off, card out
Never with the camera on.
• Push the card in gently to release it.
02
Card reader into the computer
Copy, do not move.
• Copy the photos into your Photography folder.
03
Card back in the camera
Then the camera back in the bag.
• Battery charged for next time.
05
On your sheet, section 05
Install the software
On your laptop, signed in with your yula.org account. We check it together in Week 1, Wednesday, and start editing in Week 4.
Lightroom
editing photos, every Tuesday from Week 4
06
On your sheet, section 06
How class works
The same routine every class.
Come in
sit, start the Do Now
Your seat
assigned, every class
Camera days
kit charged, card inside
9:00 pm
due time, on PhotoClass
How you are graded
Weekly Missions 30% (your lowest is dropped), Unit Projects 40%, Participation and Behavior 20%, Portfolio 10%.
QUESTIONS FOR YOU, TAKING CARE OF THE KIT
?
What happens to your photos if you open the card door while the camera is writing?
?
What should you check before you leave class with a camera?
?
Where do your photos go when you get back to the computer?
Before you leave today
Charge your battery tonight and put the camera back in the bag the way you found it.